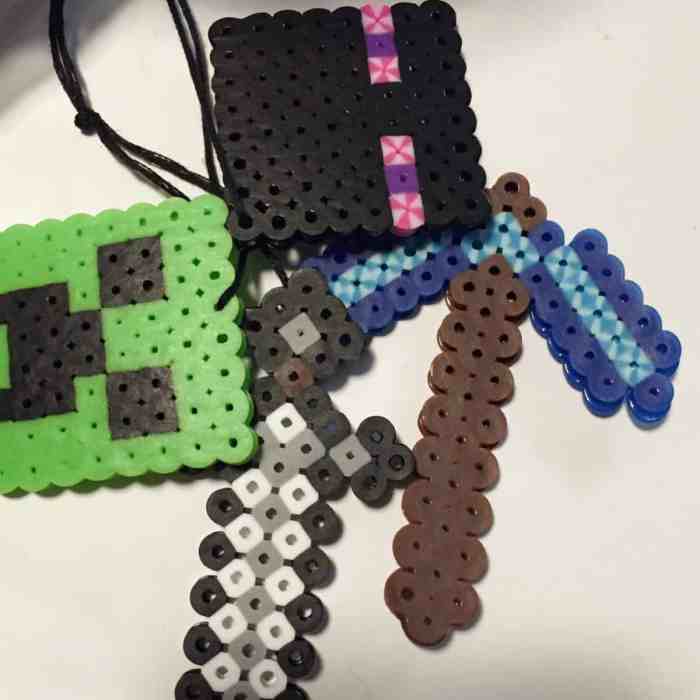
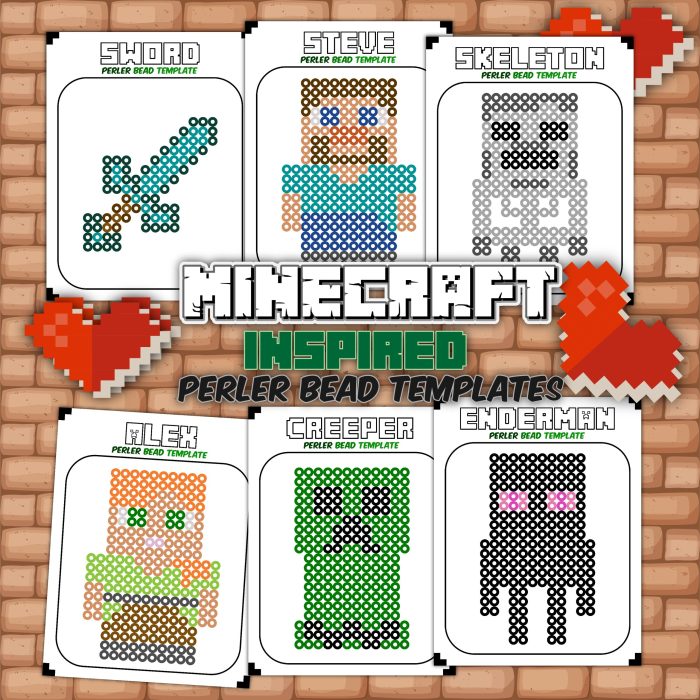
Perler bead 3D Minecraft combines the nostalgic charm of Perler beads with the endless possibilities of the beloved video game. It’s a perfect blend of creativity and nostalgia, allowing you to bring your favorite Minecraft characters and structures to life in a unique, pixelated style.
This exciting fusion of hobbies allows you to transform your imagination into tangible 3D creations, whether it’s crafting a detailed Steve figure, a towering castle, or even a complex redstone contraption. The possibilities are as vast as the Minecraft world itself.
Introduction to Perler Bead 3D Minecraft
Minecraft, the wildly popular sandbox game, has captured the hearts of millions with its endless possibilities for creativity and exploration. Perler beads, on the other hand, have been a beloved crafting material for generations, allowing people to create colorful and intricate designs.
Combining these two beloved hobbies results in a unique and engaging experience, opening up a world of 3D Minecraft creations that are both fun to make and satisfying to display.
The appeal of crafting 3D Minecraft structures using Perler beads lies in the ability to bring the digital world to life in a tangible form. With Perler beads, you can recreate your favorite Minecraft characters, build iconic structures, and even design your own unique worlds.
The creative potential is limitless, allowing you to express your imagination and bring your Minecraft adventures to life.
Materials and Techniques
Before embarking on your 3D Minecraft Perler bead journey, gather the essential materials:
- Perler beads in a variety of colors
- Perler bead pegboards
- Iron or heat press
- Parchment paper
- Scissors
- Optional: Glue, clear acrylic sealant, and a display stand.
Creating basic 3D shapes with Perler beads is surprisingly simple. Start by creating flat shapes, such as squares, rectangles, or triangles. Once you have your flat shapes, connect them by carefully fusing beads along the edges, creating a 3D structure.
To assemble complex Minecraft structures, begin by constructing individual components, such as walls, floors, or roofs, and then connect them together, ensuring a secure bond.
Connecting and assembling 3D shapes requires careful planning and execution. Use a pegboard to create the base for your structure, ensuring the beads are securely fused together. When connecting components, use a small amount of glue to reinforce the bond, ensuring a sturdy and durable structure.
As you build more complex structures, consider using support structures or internal reinforcements to maintain stability.
Minecraft Character and Structure Designs, Perler bead 3d minecraft

The possibilities for designing Minecraft characters and structures using Perler beads are endless. From iconic characters like Steve and the Creeper to intricate structures like castles and redstone contraptions, you can bring your favorite Minecraft elements to life.
Designing Minecraft characters requires a keen eye for detail and a creative approach. Study the pixelated designs of characters in the game, paying attention to their unique features and color palettes. When creating characters, consider using a combination of colors to achieve depth and dimension.
For example, Steve’s iconic blue shirt and brown pants can be recreated using a variety of blue and brown Perler beads.
Creating iconic Minecraft structures requires careful planning and execution. Start by sketching out your design on paper, considering the dimensions and scale of the structure. When constructing the structure, consider using different colors to highlight specific features, such as windows, doors, or decorative elements.
For example, a redstone contraption can be recreated using a combination of red, black, and gray Perler beads, highlighting the intricate wiring and mechanics.
Advanced Techniques and Tips
As you progress with your 3D Perler bead Minecraft creations, explore advanced techniques and tips to enhance your designs and create more intricate and detailed models.
To create intricate details and textures in your 3D Perler bead models, experiment with different bead sizes and shapes. For example, using smaller beads for eyes or details can add realism to your creations. You can also use a combination of colors and textures to create realistic surfaces, such as grass, wood, or stone.
Troubleshooting common issues encountered during construction is a vital part of the process. If you find that your structure is unstable or fragile, consider using additional glue or support structures to reinforce the connections. If you are having difficulty fusing beads together, adjust the heat of your iron or heat press, ensuring a proper bond without melting the beads.
To enhance the durability and stability of your finished 3D models, consider applying a clear acrylic sealant. This will protect your creation from dust, moisture, and scratches, ensuring that your Minecraft masterpiece lasts for years to come.
Displaying and Sharing Creations

Once you’ve created your 3D Perler bead Minecraft masterpieces, it’s time to display and share your creations with the world.
There are many creative ways to display your completed 3D Perler bead Minecraft creations. Consider creating a dedicated display shelf or using a shadow box to showcase your creations. You can also use a clear acrylic stand to elevate your creations and make them the focal point of any room.
Sharing and showcasing your creations with others is a rewarding experience. Consider sharing your creations online through social media platforms, dedicated crafting communities, or online forums. You can also participate in online contests or exhibitions to gain recognition for your artistic talents.
Sharing your creations with others allows you to connect with fellow Minecraft and Perler bead enthusiasts, fostering a sense of community and inspiration.
Wrap-Up

Perler bead 3D Minecraft is a fantastic way to express your creativity and connect with your inner child. It’s a fun and rewarding hobby that can be enjoyed by people of all ages. So grab your beads, unleash your imagination, and embark on your own pixelated adventure!
FAQ Summary
What kind of Perler beads are best for 3D projects?
For 3D projects, it’s recommended to use regular Perler beads as they offer better stability and are easier to work with. Avoid using mini Perler beads as they can be challenging to connect and might not hold their shape as well.
How do I make sure my 3D creations stay together?
Use a strong adhesive like glue or hot glue to secure the connections between different shapes. You can also reinforce the structure with skewers or toothpicks for extra support.
Where can I find inspiration for 3D Minecraft designs?
There are many online resources, such as YouTube tutorials, blogs, and dedicated Minecraft communities, that showcase impressive Perler bead 3D creations. You can also find inspiration from Minecraft itself, by observing the different characters, structures, and items in the game.
What can I do with my finished 3D creations?
You can display your creations on a shelf, desk, or even create a miniature Minecraft world. You can also share your creations online or participate in Perler bead art contests.